

 drcustompainting
We take steps further than most painting contractors. This exterior home in Dillon, CO had been painted 3 years ago and the previous coatings were failing for what ever reason. Our preparation on exterior painting projects is time consuming and the results will last due to our efforts.
Our general exterior painting preparation procedure: Protect all landscaping and surfaces.
1. Pressure wash and use of mild green detergents (environmentally safe and non-caustic).
2. Scrap chipping paint.
3. Remove failing caulking.
4. Prime all damaged areas by hand. 2 coats as needed. Spraying primer on raw material does little good unless it is worked into the surface.
5. Caulk all seams.
6. Vaccum and sweep ground.
This home needed 10 gallons of primer and 26 tubes of Big Stretch caulking. The use of quality products at these elevations and exposure to UV light, wind, snow and rain is very important. We use only the highest quality products that are intended to withstand the elements. It is very important to apply future maintenence coats before your paint fails in order to save money on preparation.
A quick rundown of caulking products:
Basic DAP caulking (siliconized acrylic) – designed for cosmetic repairs and partially holds up to the exterior elements.
Powerpoint caulking (siliconized acrylic) – excellent product with good reviews.
Bigstretch caulking (siliconized acrylic) – Three times the price and the gold standard for acrylic caulks.
There are also a number of non-acrylic caulks – silicon, solvent based that are premium products that are used on commercial and industrial applications. These products usually cannot be painted over and work well on non shrinking / moving substrates. We have used silicon on windows, glazing windows, stone and masonry, metal, aluminum and plastic substrates.
Using the right materials with the correct application will allow your exterior to look brilliant for years to come.

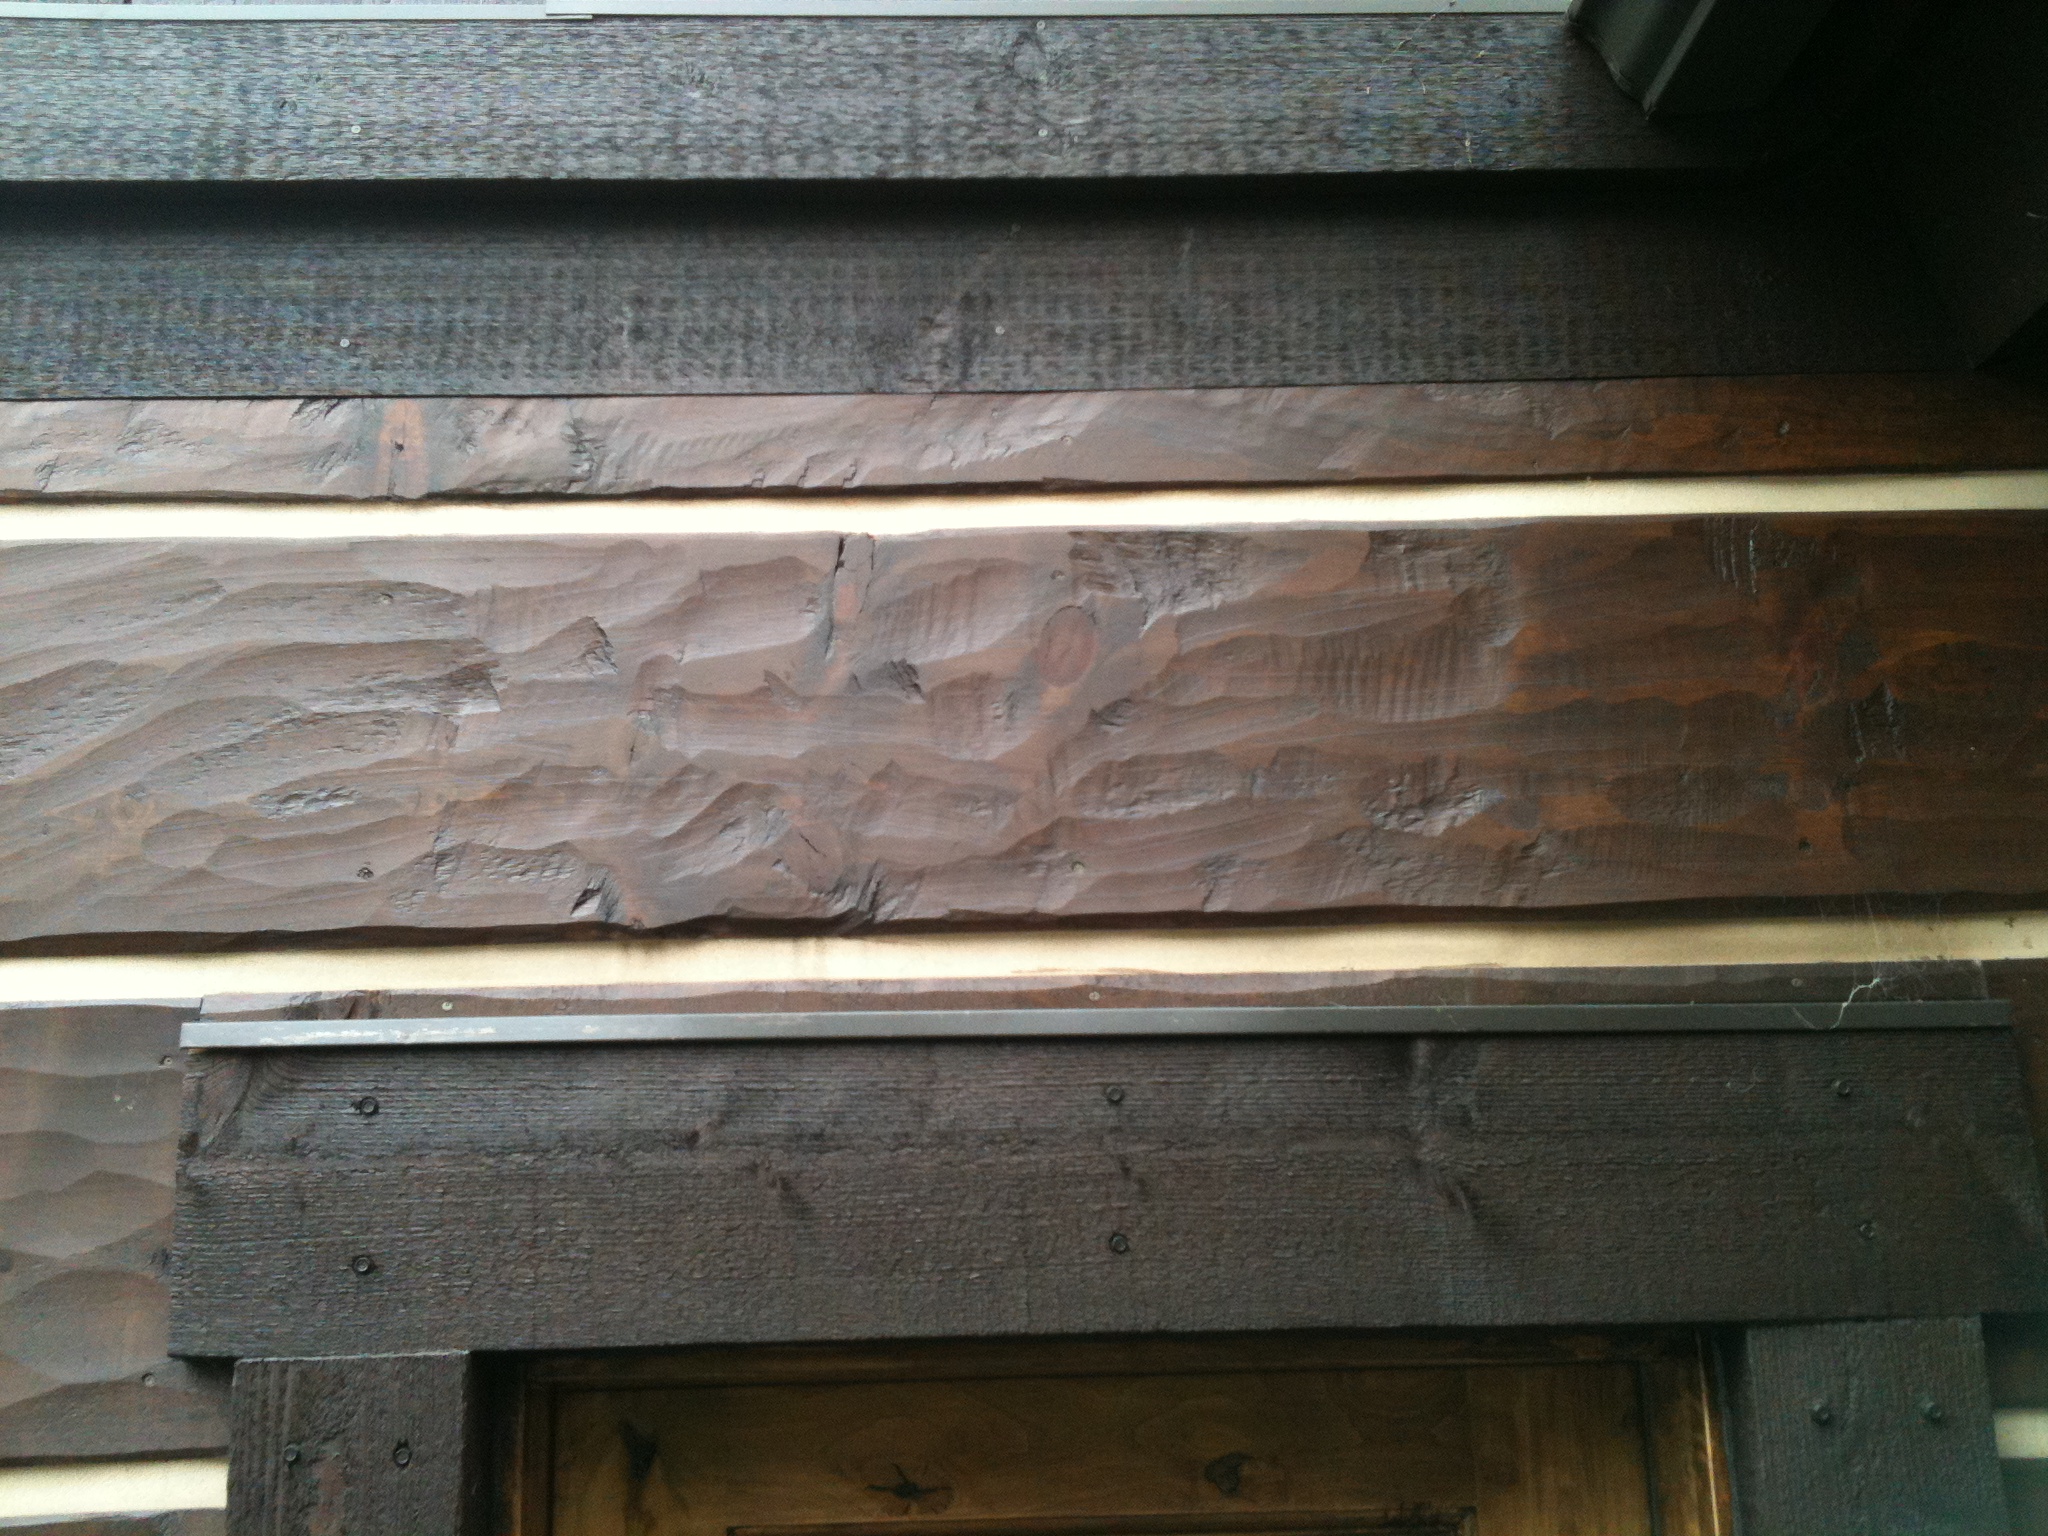
Lighter “toned” Alder Wood

Dark Alder – Method 1
Alder is the most prevelant wood species in our mountain community. The dark knots and variable wood grain lends for a rustic outdoor look. There is more than one way to stain and finish semi-hard woods like the Alder species. It depends on the depth and tone of the stain color. Here are the two methods we use on a regular basis and a few different clear finishes that can be applied.
Our first method is used on more of a regular basis. Always work up stain samples on scrap wood, it will save huge headaches later.
1. Sand the wood with the grain using 220 sandpaper. Sand by hand in order not to get those swirls from a palm sander.
2. Stain – One coat with a wiping stain and remove within 5 minutes. The longer the stain sits the darker the stain penetrates. A penetrating stain can also be applied in which will increase this effect. We prefer wiping stain due to the control and shorter open time and ease of wiping.
3. Dry 24 hours.
4. Apply a waterborn sealer – up to 3 very light coats (spray – small tip – low pressure). Allow to dry and sand with 220 between coats.
5. Apply waterborne lacquer or polycrylic top coats (2-3). Light sand between coats.
6. Allow to dry. Fill nail holes with custom matched wood putty and wipe smooth. Stain pens and artist brushes can be used to seal the holes and help match the color.
7. Re-set and install hardware.
Our second method is used on very specific stain colors, which can be a bear to match. Lighter stain colors turn out the best. Use a good custom matcher at your paint store. Be sure the matcher at the paint store is apt at matching stains. Be sure he uses multiple toner coats, conditioner and the right top coat finish so you know the end result.
This method can be tedious and the results are apparent. This method is also used on new furniture and very nice hard-wood pieces.
1. Sand the wood with the grain using 220 sandpaper. Sand by hand in order not to get those swirls from a palm sander.
2. Condition wood. Follow manufacturers instructions. Be sure to use an ample amount and certain areas may need additional coats. Apply first stain coat before conditioner dries.
3. Stain Coat 1 (toner) – One coat with a wiping stain and remove within 5 minutes. The longer the stain sits the darker the stain penetrates. A penetrating stain can also be applied in which will increase this effect. We prefer wiping stain due to the control and shorter open time and ease of wiping. This stain coat is often a lighter stain with more of a primary tone (red, green, ect.). Allow to dry.
4. Very light sand at dark, blotchy areas. This is a delicate step. Too much and you are in trouble. We use worn out 220 blocks or 400 very fine blocks.
5. Second stain coat (second toner color). This stain will be the right color to allow subtle colors from the previous stain to show through, leaving a more briliant and complex wood grain. Follow directions as applying forst coat.
3. Dry 24 hours.
4. Apply 3 coats of solvent based sanding sealer (HVLP or air-assisted airless). Good sand after final coat (220).
5. Apply 3 coats of lacquer (HVLP or air-assisted airless).
6. Allow to dry. Fill nail holes with custom matched wood putty and wipe smooth. Stain pens and artist brushes can be used to seal the holes and help match the color.
7. Re-set and install hardware.

Taking on large projects used to be a bigger challenge for us. We learned that to effectively finish a high volume project it takes the following:
1. Management on our end and open communication. Our project managers and foreman can lead a crew to stay on time and provide results to issues that arise on these large projects.
2. Products: The use of the right products without compromising quality and minimizing increased change orders can keep everyone profitable and effecient.
3. Employees: We do not use additional painting subcontractors, thus allowing our team to stay on the same page and keep safety, quality and effeciency at the highest standards. We are large enough to complete large volume projects while remaining the right size to maintain detailed workmanship.
4. Flexibility: Remainding flexible with schedules and the ability to work with additional trades at various levels.
5. Effeciency and Quality: The ultimate fine-line. Completion in a quality and timely manner takes experience.

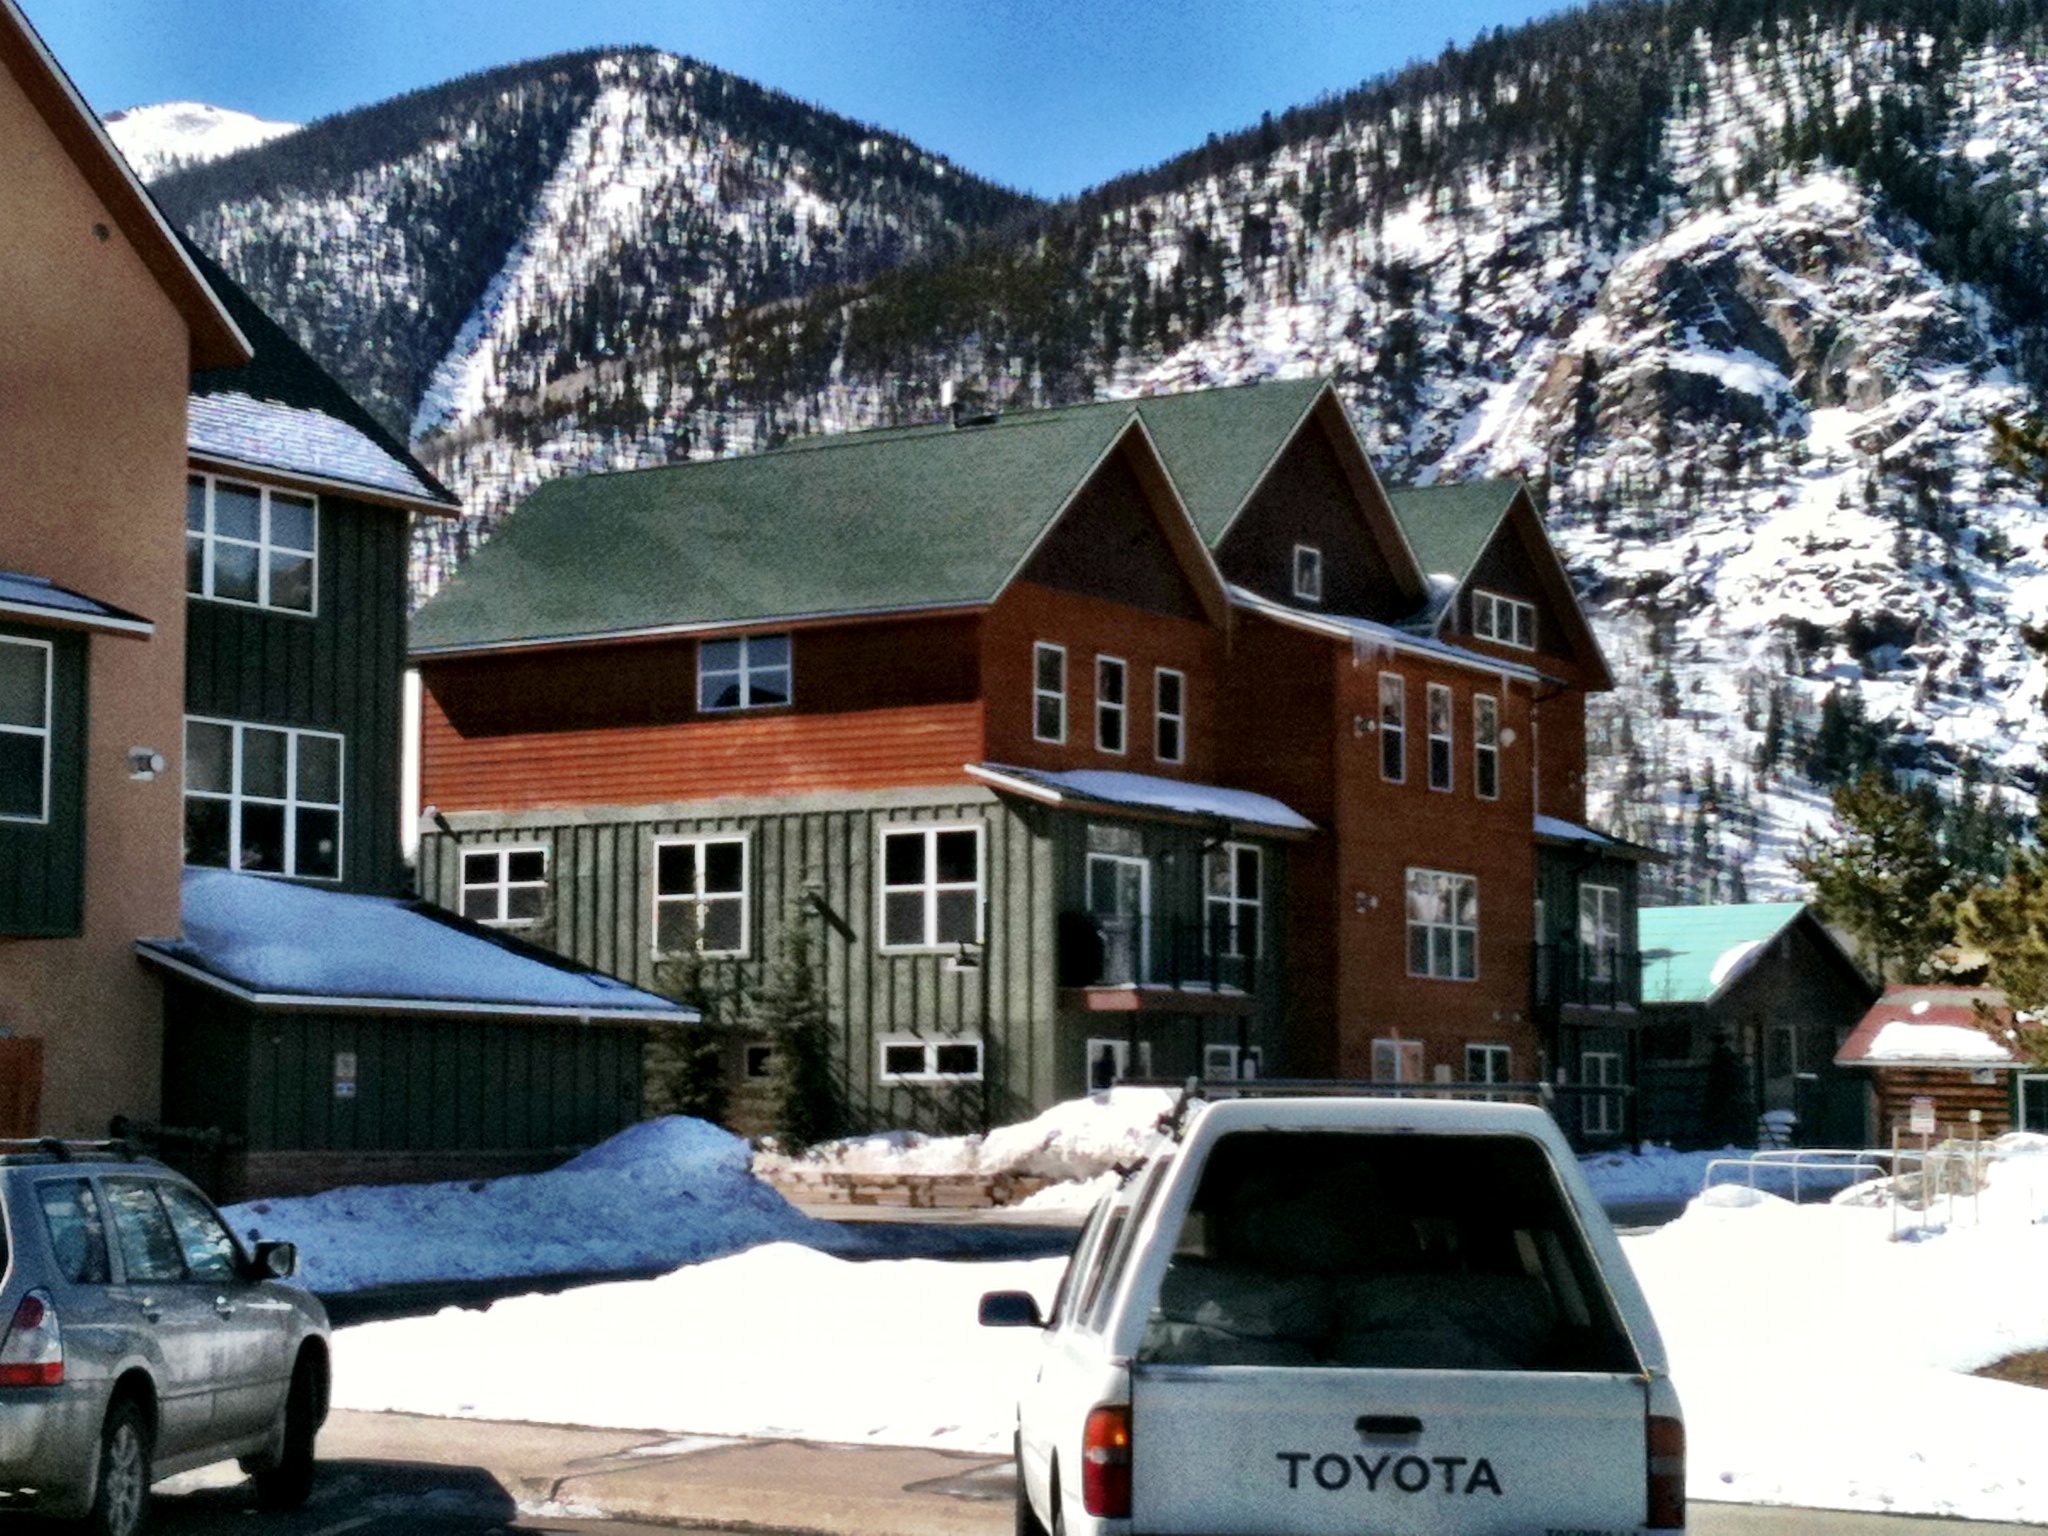
We pride ourselves on the ability to provide an endless array of finishes at any level. This project on Tejon street in the HI-LO neighborhood provided us with the biggest challenges to date.
The most interesting is the use of cement panels as siding accents. We used semi-transparent concrete stain with thick naps and worked the stain in all directions once it became tacky. The outsome was incredible. A good portion of the exterior is lined with faux cement boards we produced on-site at a large volume.
The logs are local beetle kill pine stained with Sikkens log and siding stain. The doors are also stained with Sikkens as well as numerous other wood applications. This project consisted of some of the most modern and contemporary finishes we have completed to date.
The following is information regarding clear coat technology and products for exterior stain systems involving clear film-forming products. We recommend using clear coatings over most semi-transparent and transparent stains. The addition of a clear coat will allow multiple benefits, which we describe below.
Transparent stains and toners allow the wood on your home to look the most natural. However, having to re-coat every 2-3 years can become very costly to the maintenance of your home. The harsh elements at high altitudes can wear away stains in as little as 2 years and start oxidizing the wood, turning it black and breaking up the wood fibers. The additional of either a water born clear or an oil born clear over the stain will allow a number of benefits.
WHAT IS A CLEAR COAT (FILM FORMING) PRODUCT?
Essentially, a clear coat is a protective coat to block moisture and UV light from degrading your wood, discoloring the stain and destroying the fibers in the wood.
These products are intended to be applied over a number of types of exterior wood at large volumes. These products protect exterior wood much like a varnish protects your front door, lacquer protects your furniture and polyurethane protects your floors.
WHAT ARE THE MAIN BENEFITS?
1. Brilliant appearance. Consistent sheen throughout.
2. Longevity of stain product – depending on the product and stain used, an additional 3-5 years could be added.
3. Maintenance coats – future coats will be more economical as only a clear coat will need to be applied in the future. Once the sheen starts fading it is time to re-apply.
4. Maintenance coats – only sides where the coatings sheen is fading can be recoated without having to worry about the color changing with additional stain coats darkening the wood.
5. There has been a strong demand in the industry for these products and the technology has advanced to make these coatings practical and economical.
DOWNSIDES?
1. Cost. These products are usually twice the price of a moderate to good stain. They can run upward to $90.00 / gallon. The additional labor in applying these coatings also adds to the expenses. I feel as though it is money well spent.
If you are looking for a premium appearance and less maintenance to your home, clear film forming products are your best option.

Do you have old outdated trim in your home? There is an alternative to replacing the wood. Most people are amazed at the end result if the right product is used with the right technique.
In this Breckenridge home we changed the trim from an olive green to a light walnut color without replacing the wood, thus keeping the changes to the home within a reasonable budget.
We did run into a few problems as they previous finish was likely a waterborne stain. We decided after sampling that using our go-to Shellac would act as a bond for our top-coats. Shellac never lets us down. After sanding and sealing with shellac we applied one light gel stain coat and removed 80% before it dried. Our second coat was a light brush to get the wood effect. This is by far the trickiest part. It is very easy to apply too much, thus leaving a thick solid lookiing coat. We top-coated with satin polyurethane.
Stay tuned for more videos and photos of out gel stain projects!

Not all products are equal and you get what you pay for has been the old adage. It proves true time and time again. This picture is an example of a waterborne semi-transparent stain (Olympic). We only like to plug products we use on a regular basis and that we know will hold up against the elements. Olympic stain is one of our favorites due to the natural sheen it produces once dried. The only potential downfall is that this particular product can be heavy in pigment and act more like a semi-solid. The following is a list of some of our favorites:
Semi-Transparents
Olympic: Semi-transparent Water-Oil modified (waterborne)
Sherwin Williams – Woodscapes Semi-transparent waterborne
Solids
Sherwin Williams – Woodscapes Solid – Latex
Cabot – Solid Stain
When deciding which finish to apply to your home the use of water based semi and solid stain products will give you the longest lasting finish. The one downside as there is to anything… you do lose that rich wood grain with the semi-transparents versus the transparent toners.
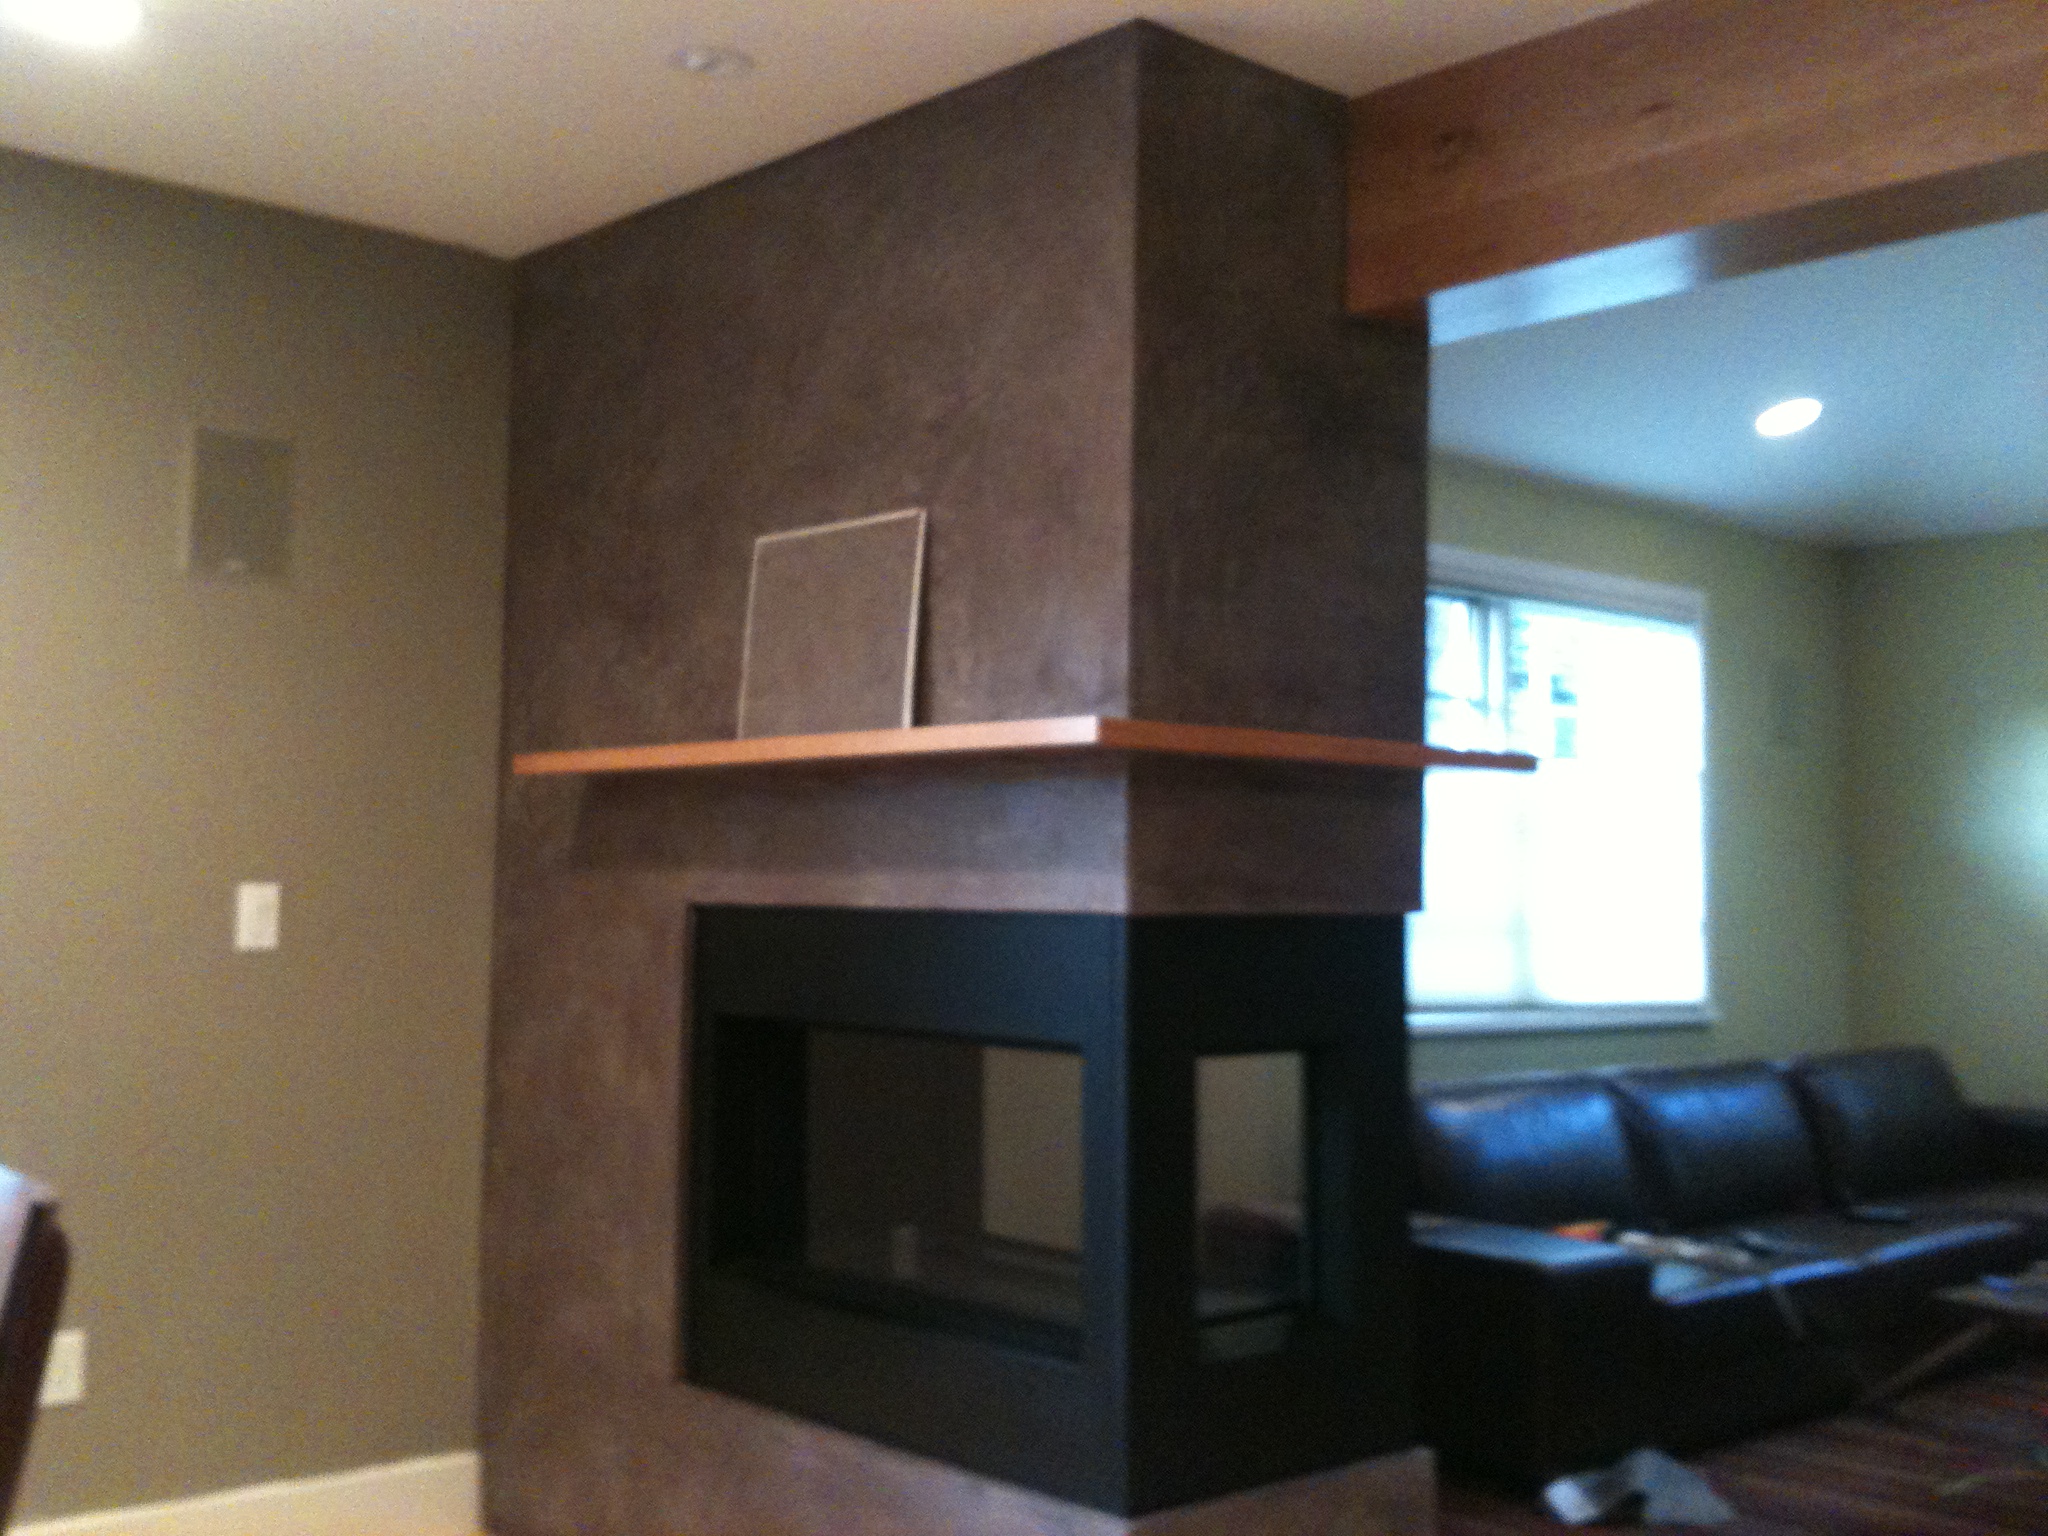
A completed American Clay project. This finish is a porcelina – the finest grit plaster available. This particular finish has been compressed with a plastic japenese trowel, waxed and polished numerous times.


 This home in Blue River, Colorado was originally weathered , dark and damaged and in need of TLC. The homeowner was concerned that the wood could be brought back to its near-original state. The fascia boards were dry cracked and almost black due to the oxidation of the wood.
The selection of products is one of the most important factors in getting a good stain job with longevity and less future maintenence costs. The 300 plus days of sun at an altitude of 10,000 feet will tear down the finish on exterior wood in as little as a few years. One way to lengthen your woods finish is to use a high quality solid water- born stain on your fascias and decks. This surfaces are always the first to show wear and tear. The pigments in water based stains are more reflective of the UV light than the natural solvent based pigments.
Preparing and washing the wood effectively is another important factor. Transparent stains will show the flaws and weathered surfaces of damaged woods, so it is very important to clean and brighten the cedar siding with the right products and with care, as to not damage the wood.
The fascia on this home should last 5-7 years. Re-coating the horizontal surfaces of the decks every other year will allow the solid based stains to keep the wood smooth and fresh for years to come.

